
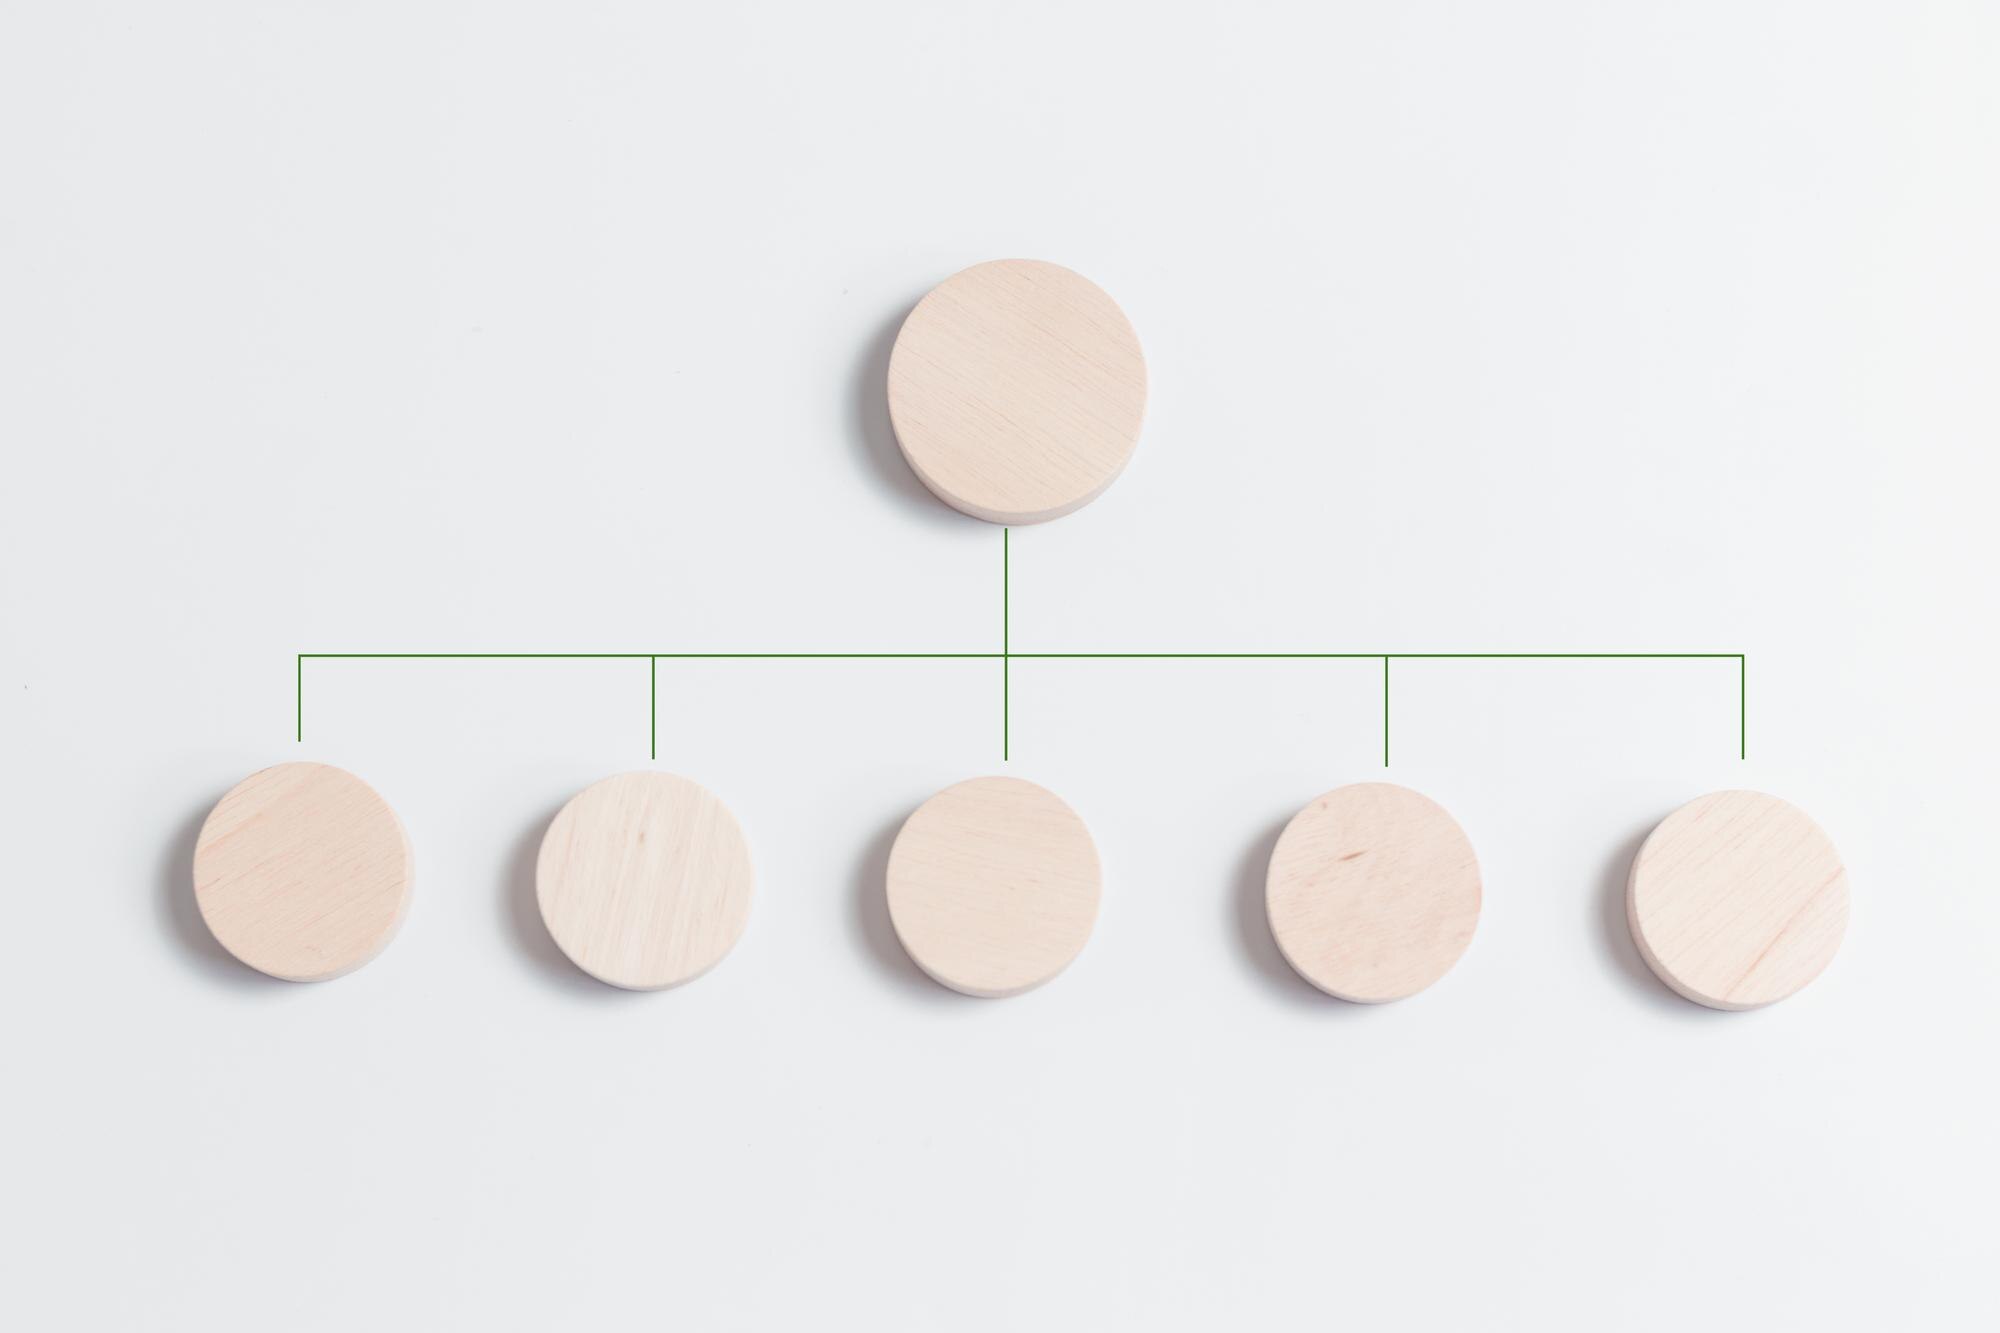

A tree diagram shows how one starting point branches into related parts or possible outcomes. In 1837, Charles Darwin sketched a branching evolutionary tree in a notebook, giving relationships among descendants a visible structure. The useful question is the same whether you are tracing ancestry or planning work: what connects to what?
In This Article
- Understand the Parts and Rules
- Build From a Clear Starting Point
- Read Each Level Before Following a Path
- Calculate Probabilities Along a Path
- Adjust for Events That Change the Next Draw
- Choose a Tool and Check the Structure
- Key Takeaways
- Frequently Asked Questions
- Start With One Clear Objective
Understand the Parts and Rules
Consider a tree for launching a newsletter:
Launch a newsletter
├── Prepare content
└── Set up delivery
“Launch a newsletter” is the root. The two labels beneath it are its children, and it is their parent. For now, both children are leaves: neither has children of its own. Add tasks beneath “Prepare content,” and that node remains a child of the root while becoming a parent itself.
Those connections define a tree structure diagram. Every non-root node has exactly one parent, and exactly one path connects it to the root. There are no cycles. If the two newsletter branches merge into one shared node, or an extra connector links a node to one of its ancestors and creates a cycle, the drawing becomes another kind of graph. A flowchart can accommodate those connections; a tree cannot.
Build From a Clear Starting Point
To create a tree diagram, give the root one job: state the objective, category, or starting condition. For the newsletter, let every connection mean “requires this work.” Under “Prepare content,” add “Draft articles” and “Edit copy.” Under “Set up delivery,” add “Choose a platform” and “Configure signup.”
Launch a newsletter
├── Prepare content
│   ├── Draft articles
│   └── Edit copy
└── Set up delivery
    ├── Choose a platform
    └── Configure signup
The resulting levels move from a broad objective to finer detail. Keep siblings comparable: each should answer the same question about its parent. “Draft articles” and “Edit copy” both name tasks. “Draft articles” and “Marketing department” do not. One tells you what to do; the other tells you where people work.
Read Each Level Before Following a Path
Read across the newsletter’s first level before descending into its tasks. That reveals two work areas; following only the content branch could leave delivery out of your understanding entirely. In an organizational hierarchy tree, the same reading method separates departments from the teams beneath them.
Then trace a complete path and put its connectors into words: launching the newsletter requires preparing content; preparing content requires drafting articles. Depth counts the steps from the root, so this task sits two connections away.
The verbal test matters more than the boxes. “Reports to,” “is part of,” and “happens next” make different claims. Read every edge as a sentence using the diagram’s chosen relationship.
Calculate Probabilities Along a Path
Suppose someone offers you a bet: you win if two independent fair coin tosses produce exactly one head. Is that a more likely result than getting matching faces? A tree makes the comparison explicit.
From the starting node, draw heads, H, and tails, T. Label both branches 1/2, or 50 percent. From each outcome, draw another H and T pair, again labeled 1/2. The completed paths are HH, HT, TH, and TT:
Two independent fair coin tosses
├── H (1/2)
│   ├── H (1/2) → HH: 1/4
│   └── T (1/2) → HT: 1/4
└── T (1/2)
    ├── H (1/2) → TH: 1/4
    └── T (1/2) → TT: 1/4
Multiply along each path: HH = (1/2) × (1/2) = 1/4. The same calculation gives HT = 1/4, TH = 1/4, and TT = 1/4.
Your winning paths are HT and TH. They are disjoint: a single sequence cannot be both. Adding them gives P(exactly one head) = 1/4 + 1/4 = 1/2. The matching-face paths make up the other half. The offer gives neither result a probability advantage; whether the bet is worthwhile also depends on the payout.
The working rule is multiply along a path; add disjoint paths.
Adjust for Events That Change the Next Draw
Now replace the coins with a bag containing 3 red balls and 2 blue balls. Draw twice without replacement. The first red branch is 3/5, but copying that label onto the next red branch would be wrong: only 2 red balls remain among 4 balls.
The complete tree labels each branch with its probability given the preceding draw:
3 red, 2 blue; without replacement
├── Red (3/5)
│   ├── Red (2/4) → RR
│   └── Blue (2/4) → RB
└── Blue (2/5)
    ├── Red (3/4) → BR
    └── Blue (1/4) → BB
So P(two reds) = (3/5) × (2/4) = 3/10.
A first blue draw creates a different situation: the next red probability is 3/4. Each parent represents its own remaining bag. Label the branches from that situation, not from memory of the root.
With replacement, the first ball goes back and restores the original composition. Now P(two reds) = (3/5) × (3/5) = 9/25. Write “with replacement” or “without replacement” beside the root. That small label changes the answer.
Choose a Tool and Check the Structure
Choose paper for a small tree you can keep legible; use a drawing tool when revisions make the connectors hard to follow. The choice matters less than whether a reader can distinguish every parent-child connection.
Crowded sibling groups can make a connector appear to join the wrong box. Crossed lines can hide an accidental extra parent. Long labels can obscure where one node ends and another begins. Separate the groups, shorten labels without losing their meaning, and trace every leaf back to the root.
Color creates another failure mode if it carries information that the labels omit. Give branches readable text and consistent connectors so their meaning survives without color. A missing leaf is harder to spot than a crooked line: compare the finished branches against the items you intended to include.
Key Takeaways
- Give the root a scope narrow enough that you can recognize an unrelated branch.
- Use the newsletter’s task levels as a test: can siblings answer the same question?
- For probability trees, distinguish a complete outcome from an event containing several outcomes.
- Treat a changed assumption as a reason to revisit downstream labels, even when the drawing itself stays unchanged.
Frequently Asked Questions
What Is a Tree Diagram Used For?
Tree diagrams show branching relationships, such as folders within folders or successive possible results. Use one when the route from a common starting point matters to the explanation.
How Do I Prepare a Tree Diagram?
Write the question the finished diagram must answer, then gather and group the relevant items. Consider the reader: a work plan for an editor may need different leaves from one for the person configuring delivery.
How Do I Make a Tree Diagram Without Drawing Software?
Write the root on paper and connect it to boxed child labels, or use an indented text outline. In the text version, put each child on its own line and increase indentation for every deeper level.
Must the Probabilities Leaving Each Parent Add Up to 100 Percent?
Yes, if those branches cover all possible, mutually exclusive next outcomes. A different total points to a missing outcome, overlapping choices, or an incorrect label; it does not tell you which error occurred.
When Should I Stop Adding Branches?
Stop when every leaf supplies enough detail to answer the original question. In a work plan, that can be an action someone can own; in a probability experiment, it is a complete outcome.
Start With One Clear Objective
Check your understanding: a colleague connects both “Prepare content” and “Set up delivery” to a single shared “Choose a platform” node. Is the result still a tree?
No: the shared node now has two parents. Keep the task beneath the work area it belongs to. If the diagram must show shared dependencies, use a graph that permits multiple parents rather than forcing those relationships into a tree.
Recommended for you
Bimodal Histogram: Two Peaks That One Average Can Hide
A bimodal histogram can reveal two operating conditions. Use the 15 and 25 millisecond test example to read the peaks and plan your next analysis. See how.
Bar Graph Scales: How Small Changes Look Much Bigger
A bar graph can make 35% to 39.6% look like a huge leap. Learn how scales and layouts shape comparisons, then build one from a small table. See the guide.

Line Graph Scales: Why the Same Data Can Look Different
A line graph can exaggerate a modest change. Learn to check axes, read a five-month sales example and build clearer charts from your data. Explore the article.

SEO Infographic: Why the Publishing Page Matters Too
An SEO infographic needs more than an image. Connect your search question, visual, file and publishing page in five steps to make it useful. See the steps.

Climate Change Infographic: From Emissions to Action
See how a climate change infographic links heat-trapping gases to rising heat, then separates emissions cuts from adaptation. Explore the causes and actions.

Sin Graph From the Unit Circle: Five Points, One Wave
Build a sin graph from unit-circle heights and five key points. Learn amplitude, period, and shifts, then read equations from curves. See the steps inside.
Circular Flow Diagram: A $4 Loaf Links Two Markets
A circular flow diagram connects a $4 bread purchase to work and income. Learn how goods and money move through two markets. Follow the example in the article.
Scatter Plot Reading: Steepness Isn’t the Whole Story
A scatter plot's slope can look persuasive while its dots tell another story. Learn to judge strength, clusters and display choices. Read the article.